
Booking is simple. Send your name, number and a short message, and someone will get back to you about Fireplace Smoke Chamber Repair New Westminster
Fireplace work sits where looks and safety meet. A new surround has to cope with heat, a repaired firebox has to contain fire and every change has to leave the smoke a clear path out. If “fireplace smoke chamber repair” brought you here, the following answers give homeowners in New Westminster a grounded view of smoke chamber repair: what is involved, what can go wrong when corners are cut and how to prepare for a smooth job.

The line we draw is between the parts you see and the parts that handle fire and smoke. Remodeling deals with surfaces and fuel: tile, stone, mantels, surrounds and conversions. Repair deals with the working core: the firebox, the throat and damper, the smoke chamber and the metal components that seal or protect them. On real jobs the two often overlap. Pull off an old surround and you may find gaps that let heat reach framing; open the damper and you may find a crumbling smoke shelf. We sort each finding into must-fix and nice-to-have so you can plan sensibly.
It is the transition zone between the throat and the flue, and it does more work than most people realize. Shaped like an inverted funnel, it gathers smoke and guides it into the flue opening. When we look up past the damper with a camera, we often find corbelled brick steps, missing mortar or a layer of glazed creosote clinging to rough walls. Those surfaces slow and swirl the smoke, which can push it back into the room and let deposits build. A smooth, sound chamber helps the fireplace draft properly and keeps hot gases away from the house structure.
The most common signs are smoke drifting into the room, especially at the start of a fire, a smoky smell that lingers when the fireplace is off and bits of mortar or brick landing on the smoke shelf or in the firebox. Heavy creosote above the damper, visible with a flashlight, is another clue. An inspection report may also flag a corbelled or unparged chamber. Because the area is hidden, most problems are found with a camera during a chimney inspection. If you are researching “fireplace smoke chamber repair” after a report like that, ask for the photos or video so you can see the condition yourself.
We clean first, repair second and coat last. Creosote and soot have to come off, or the new material will not bond. Loose or missing bricks in the chamber walls are reset, and open joints are filled. Then a refractory parging coat is built up until the corbelled steps disappear and the walls slope evenly toward the flue. Some systems are applied by hand, others sprayed on and smoothed; the method depends on access and the condition of the masonry. A camera pass before and after lets you see the difference, which would otherwise stay hidden above the damper.
An inspection comes first because it shows whether the fireplace is safe to use and sound enough for the planned work, so you do not spend money on a new face over a failing core. A technician typically checks the firebox walls and floor, the damper and throat, the smoke chamber, the flue and the clearances around the opening, often with a camera for the hidden parts. If problems turn up, they can be fixed before finishes go on, when access is easiest. It is a sensible routine on its own too: many homeowners have the fireplace and chimney inspected once a year.

No, they treat different sections. The smoke chamber sits between the damper and the flue, while a chimney liner runs up the flue itself to the top of the chimney. A cracked flue tile or an unlined flue calls for relining; rough or eroded chamber walls call for parging or rebuilding the chamber. Some homes need both, and doing them together saves a second setup. An inspection with a camera shows which parts are affected. When you request smoke chamber repair quotes, check that each one says clearly which section is included, so you are comparing the same work.
The cost depends mostly on the scope of work, the materials and what turns up once old surfaces come off. A simple refresh with paint or a new mantel shelf costs far less than full stone refacing, a gas conversion or rebuilding a firebox. Material choice matters too: natural stone, custom millwork and specialty tile cost more than standard options. Access, the size of the fireplace and any hidden damage add time, while gas work, liners and venting add parts. A clear, itemized quote that separates repairs from finishes makes options much easier to compare.
We give every customer a first-fire date, and it is set by the slowest-curing material in the job. Fresh mortar and refractory products hold water, and heating them too fast turns that water to steam inside the joint, which can crack it before it has hardened. So after firebox, throat or smoke chamber work, we recommend a few small fires before a full one. Tile and stone surrounds have their own adhesive cure times. Gas units are lit and tested on installation day, then left ready to use. Call us if anything looks or smells unusual during those first fires.
When homeowners show us competing quotes, the gap usually comes from scope. One quote may cover a new surround but say nothing about the cracked firebricks behind it; another includes the repair and the curing time. We suggest laying them side by side and asking three questions of each: what exactly is being fixed, what exactly is being installed and what happens if something unexpected turns up when the old finish comes off. Clear, specific answers point to a contractor who has thought the job through. Vague ones usually mean extras later.

Moving brings a long list of unknowns, and the condition of your fireplace is one of them. A visit from Chimney Sweep New Westminster replaces guesswork with a clear picture. Schedule smoke chamber repair as part of settling in.
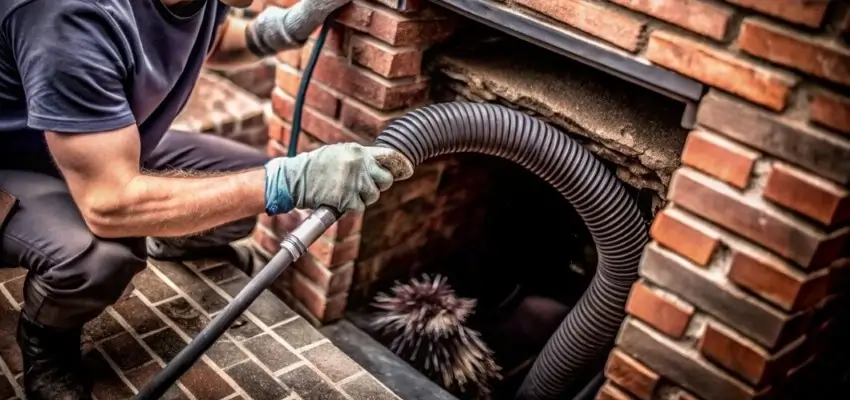
Less smoky smell, steadier flames: Chimney Cleaning around New Westminster
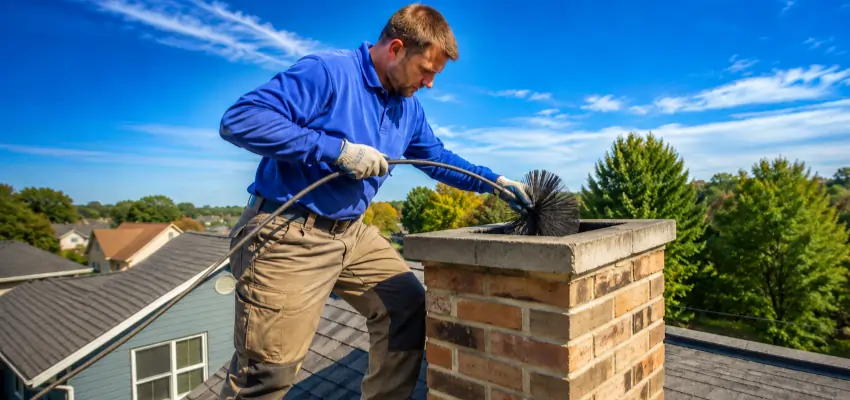
Your New Westminster fireplace, swept and checked: Chimney Sweep
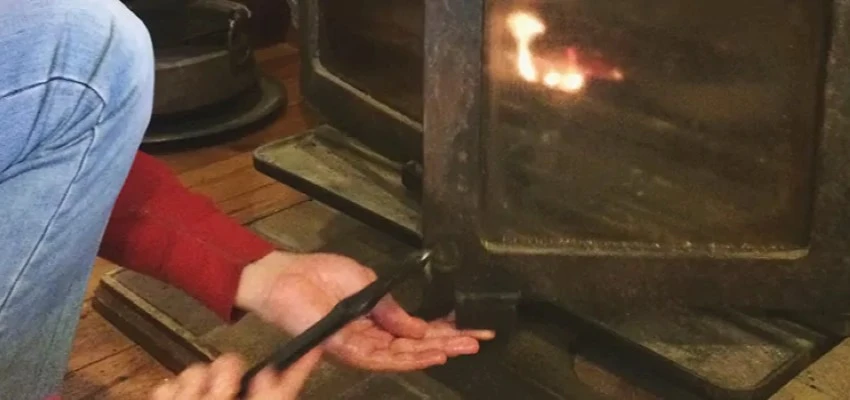
Swept and checked: Chimney Sweep Services in New Westminster
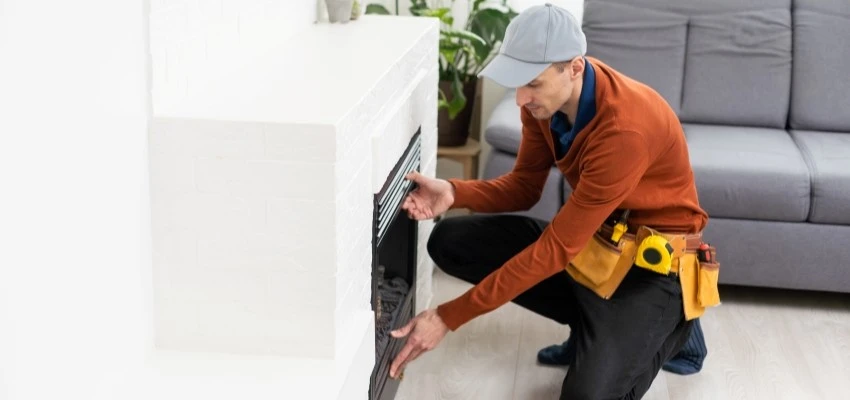
Wood units, stoves and inserts: Fireplace Experts serving New Westminster
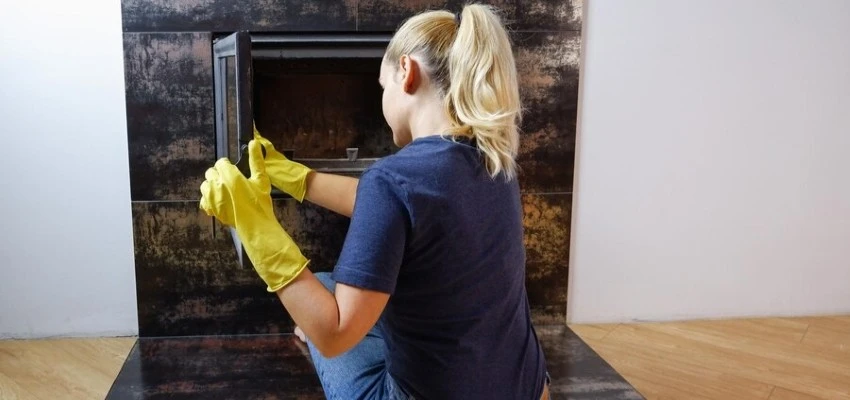
Fireplace smell at startup? Gas Fireplace Cleaning in New Westminster
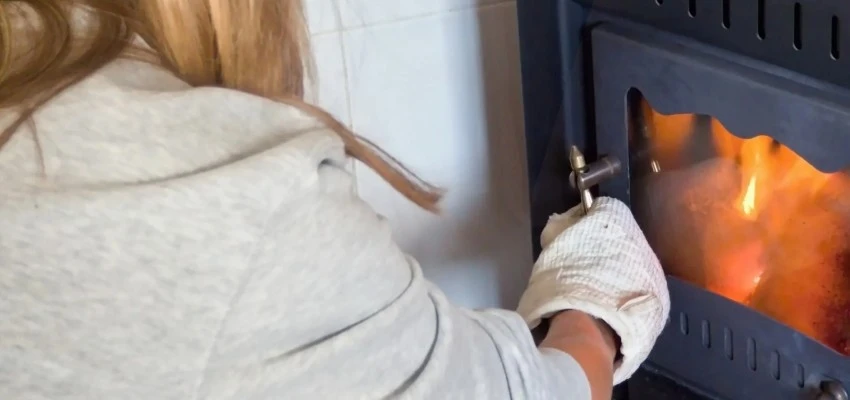
Slow to light? Gas Fireplace Maintenance near New Westminster

