
Booking is simple. Send your name, number and a short message, and someone will get back to you about Dryer Vent Inspection New Westminster
Towels that need a second trip through the dryer are often the first hint that something is off behind the machine. Many homeowners in New Westminster start by searching for “dryer vent inspection” and find more opinions than answers. The practical side of dryer vent inspection is simpler than it sounds. The first thing worth checking is usually the hose behind the machine, since a crushed or kinked bend there slows drying on its own. If the hose looks fine and the outside flap barely lifts while the dryer runs, the restriction sits somewhere along the duct.

Our cleaning method is nearly identical for both, but we handle a gas dryer with a little more care. Its exhaust carries combustion byproducts as well as moist air, so a restricted vent is about more than drying time. When we pull a gas unit away from the wall, we move it slowly to avoid straining the flexible gas connector, and we make sure nothing is kinked once it is back in place. We also remind homeowners to test their carbon monoxide alarms regularly. With electric models, our extra attention goes to the heavy power cord and the outlet as the machine slides out.
Rigid metal is the safer pick, and in the field the duct material also tells us a lot about how a vent has been treated. Rigid aluminum or galvanized pipe with taped joints usually comes out with a light, even film of lint. Accordion foil tells a different story: lint packs into every fold, low spots sag and hold moisture, and the hose is often squashed flat against the wall. For the short link behind the dryer, a semi-rigid metal transition is a reasonable compromise because it bends without collapsing. For the run through walls and ceilings, we prefer solid metal pipe wherever the layout allows it.
Yes. An inspection assesses the vent, while a cleaning removes what is inside it. During an inspection, a technician checks the material, route, joints, length, airflow and exterior hood, and may use a camera on hidden sections. A cleaning focuses on clearing lint from the hose, duct and hood. Many homeowners book both together, since the inspection shows what needs attention and the cleaning deals with the buildup right away. If your search for “dryer vent inspection” came from a home inspector’s note or a new dryer purchase, ask whether the visit includes cleaning or only the assessment.
Stop the dryer and get it checked, because a burning smell is a call we take seriously. In many cases it turns out to be lint that drifted past the screen and settled around the burner or element, where it scorches each time the heat comes on. A restricted vent adds to the problem by keeping the cabinet hotter than normal. Our part is to clear the vent and the connector so heat can escape, and to tell you if the inside of the dryer also needs cleaning by an appliance technician. A brand-new dryer can smell a little hot for its first few loads, but a smell that appears suddenly in an older machine deserves a check.
Get the nest removed and the duct behind it cleared before the next load; we pull nests out of dryer vents more often than most people expect. Birds like the warmth and shelter of a hood whose flap is stuck open or missing, and a low wall vent near a deck or roofline is an easy target. Mice and other small animals sometimes move in too. The nest itself is only part of the job, because the debris usually pushes a plug of lint back up the duct. After clearing it, we confirm the flap closes on its own and recommend a guard style that discourages nesting without trapping lint at the opening.

A proper inspection checks the full exhaust path for blockages, damage and installation problems. That usually means looking at the connector hose behind the dryer, following the duct as far as it can be traced, testing airflow at the outside hood and checking that the flap opens and closes properly. Where the duct is hidden, some technicians use a small camera to see inside. You should come away knowing the material and rough length of your vent, how many bends it has, whether lint is building up and whether anything needs repair or replacement.
We do need someone on site for the indoor part, which is most of the job. The dryer has to be moved, its connection checked and the machine run afterward to confirm airflow, and we prefer to do that with the owner or a trusted adult present. The outside hood can sometimes be cleaned while you are out, but only that part. At the end, we like a short conversation about what came out of the duct and anything we noticed. That chat is often the most useful few minutes of the visit for homeowners deciding what comes next.
It can be a smart step. Home inspectors working for buyers often comment on dryer vents, flagging foil hoses, missing hoods or vents that end in the wrong place. Finding those issues first lets you fix them on your schedule instead of negotiating them later. A pre-sale “dryer vent inspection” visit also gives you a written record to share with buyers, which shows the home has been looked after. If the vent needs cleaning or a small repair, it is usually quick to handle before listing. Buyers can benefit too, by asking for an inspection as part of their due diligence.
You can handle part of the job yourself, but most homes benefit from a professional cleaning of the full vent. Safe DIY tasks include emptying and washing the lint screen, vacuuming the screen slot, wiping lint off the outside hood and checking that the flap opens. Brush kits from a hardware store can work on a short, straight vent you can reach from both ends. Long runs, roof exits, gas dryers and vents hidden in ceilings are better left to a technician with longer rods and stronger vacuums. Leaf blowers tend to scatter lint and push clumps deeper rather than remove them.

If you have never had this done before, it helps to know what to expect. We walk you through the visit, how long it usually takes and what you will see when we finish. Start with a quote and ask us anything along the way.
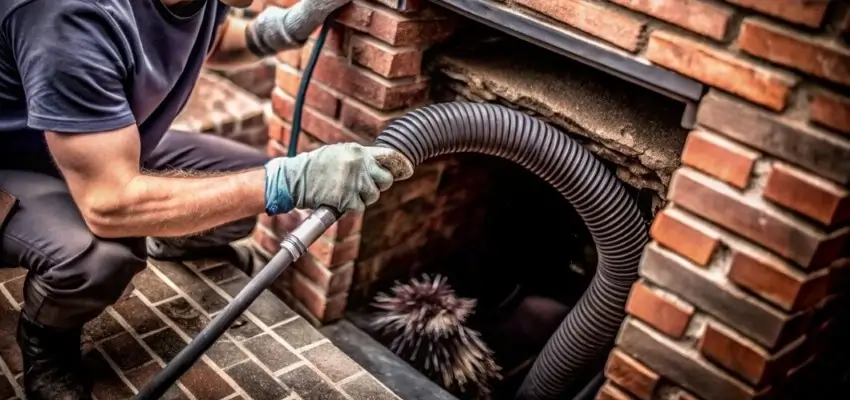
Less smoky smell, steadier flames: Chimney Cleaning around New Westminster

Your New Westminster fireplace, swept and checked: Chimney Sweep
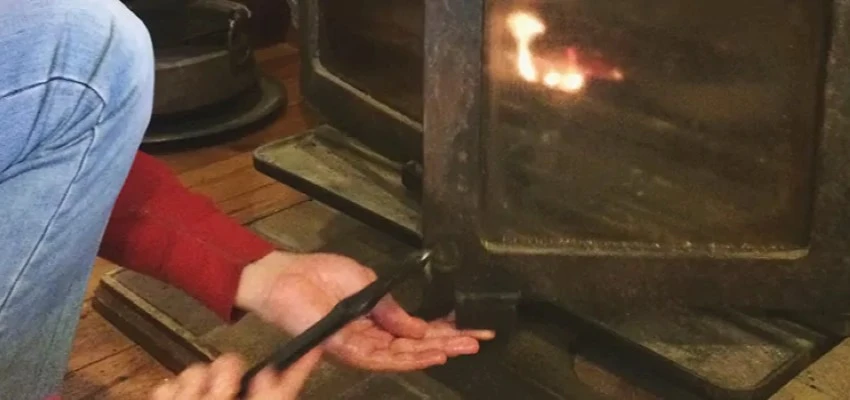
Swept and checked: Chimney Sweep Services in New Westminster

Wood units, stoves and inserts: Fireplace Experts serving New Westminster
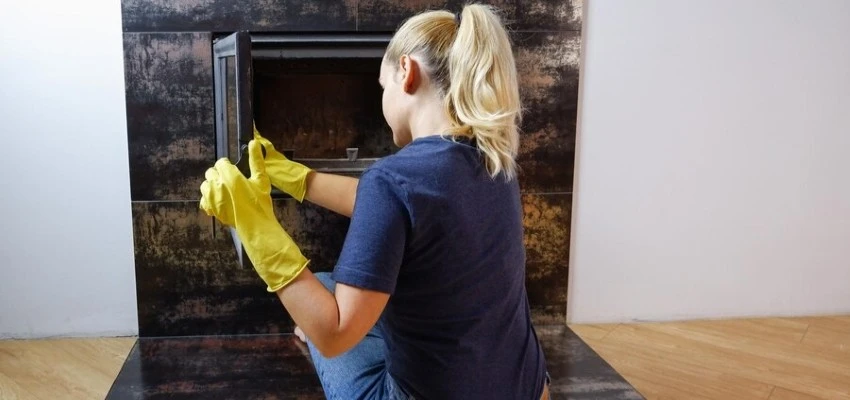
Fireplace smell at startup? Gas Fireplace Cleaning in New Westminster
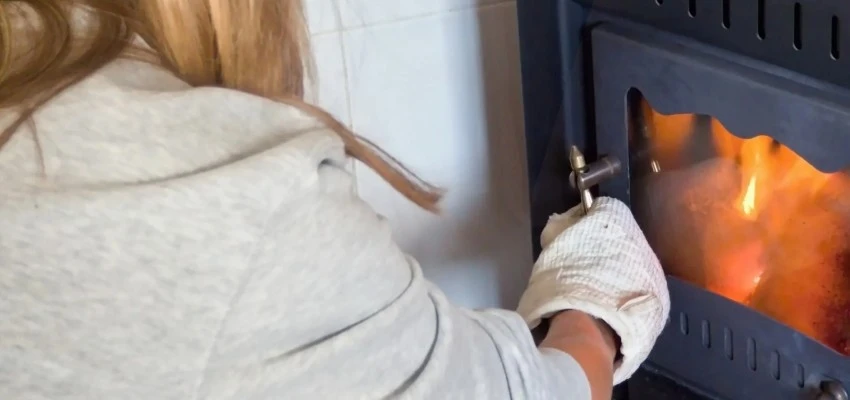
Slow to light? Gas Fireplace Maintenance near New Westminster

