
Booking is simple. Send your name, number and a short message, and someone will get back to you about Chimney Tuckpointing New Westminster
Our crews hear the same questions on almost every roof and in almost every living room, so we wrote them down. If “chimney tuckpointing” is what brought you here, you will find honest explanations of mortar joint repointing for homes around New Westminster, the kind a technician would give while pointing at the chimney itself. Some answers deal with safety, some with cost factors and timing, and a few simply explain how the parts of a chimney work together.

Sometimes yes, often no, and the deciding factor is whether the damage touches the path the smoke takes. A chipped brick on the outside of the stack is not going to change how the fire drafts tonight. A broken flue tile, a liner with gaps, a crown that lets rain pour into the flue or a fan that has stopped running can. When we are asked this on the phone, we usually suggest leaving the fireplace or stove cold until the chimney has been checked. A few quiet evenings cost nothing, and a carbon monoxide alarm near the bedrooms is cheap protection in any home with a fuel-burning appliance.
Most chimneys can be repaired, and a rebuild only makes sense when the structure itself is no longer sound. Repairs cover jobs like replacing damaged bricks, repointing worn mortar, building a new crown or resealing flashing. A partial or full rebuild comes into play when the chimney leans, when many bricks are crumbling at once, when mortar has failed deep inside the stack or when the top courses move by hand. The usual approach is to save whatever is solid and rebuild only the section that cannot be saved, which is often the part above the roofline.
It will stop leaks that come through failing mortar joints, but not leaks that start elsewhere. Water often enters through a cracked crown, a missing cap or worn flashing, and new joints cannot fix those. Porous bricks can also absorb rain even when the mortar is sound. That is why a leak should be diagnosed before any masonry work is booked. When the joints are the problem, repointing them can make a noticeable difference after the first heavy rain. Ask anyone quoting “chimney tuckpointing” whether they checked the crown, cap and flashing as part of the estimate.
Joints that have shrunk back from the brick face, cracked along the edges or turned soft and powdery are the signs we look for, and they are usually visible from a short distance. Healthy mortar, by contrast, fills the joint, sits tight to the brick on both sides and is shaped to shed water. On the roof, a light scrape with a tool tells us whether it still holds together. We also note where the damage sits: the top few courses and the weather-facing side usually go first. Repointing those areas promptly keeps water from reaching the core of the chimney.
The main tools are an angle grinder with a diamond blade or a mortar-raking attachment to cut out old joints, plugging chisels and a hammer for detail work, a stiff brush or compressed air to clear the dust, and narrow pointing trowels to pack fresh mortar in. A jointer or striking tool shapes the finished joint to match the original profile. Masons use dust control and protection for the roof and windows, since grinding throws fine dust. Mortar is mixed in small batches so it stays workable. Seeing the right tools on site is a good sign your mortar joint repointing will be done carefully.

Chimney tuckpointing is done in three stages: removing the damaged mortar, filling the joints with fresh mortar and finishing them to shed water. Old mortar is cut out with a grinder or chisel to an even depth, a common guideline being about twice the width of the joint, and the dust is cleaned away. New mortar, matched in strength and color to the original, is packed in layers so each one firms up before the next. Masons often mix small test batches and let them dry, because wet mortar looks darker. Finally, the joints are tooled to match the rest of the chimney.
Well-done tuckpointing typically lasts many years, often decades, before the joints need attention again. How long it holds depends on the mortar mix, the quality of the work, the weather the chimney faces and whether the water problems above it were fixed. A chimney with a sound crown, a good cap and working flashing keeps its new mortar far longer than one where water still pours over the top. Sides that catch driving rain or repeated freezing wear faster. A yearly look at the joints lets you repoint small areas as they wear instead of redoing the whole chimney.
Preparing for chimney repair mostly means clearing access inside and out. Stop using the fireplace or stove at least a day before so the firebox and flue are cool, and move decorations, screens, tools and furniture away from the hearth. Outside, move vehicles, patio furniture, planters and grills away from the side of the house where ladders will go, and unlock any gates. Let the company know about pets, an alarm system or anything fragile near the chimney. If the job involves the attic or basement, such as tracing a leak or emptying an ash pit, clear a path there too.
After a repair, the main job is to watch for changes and keep water and debris away from the chimney. Follow any instructions about when the fireplace can be used again, since new mortar or crown material may need time to cure. In the first few rains, check the ceiling and walls near the chimney for stains and look in the firebox for water or debris. Keep tree branches trimmed back from the chimney top and the gutters near it clear. Book a yearly inspection so small wear is caught early, and file the paperwork from the repair for future reference.

Sometimes the right call is a small fix, sometimes a bigger job and sometimes nothing at all. We tell you which one applies to your chimney and why. Ask Chimney Sweep New Westminster for advice and decide in your own time.
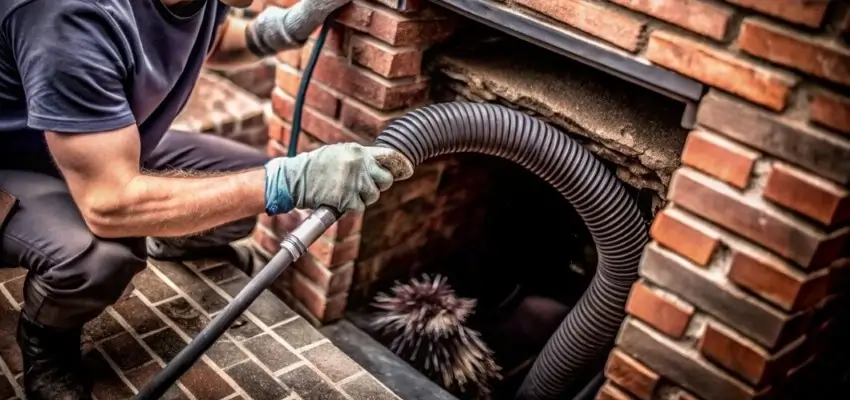
Less smoky smell, steadier flames: Chimney Cleaning around New Westminster
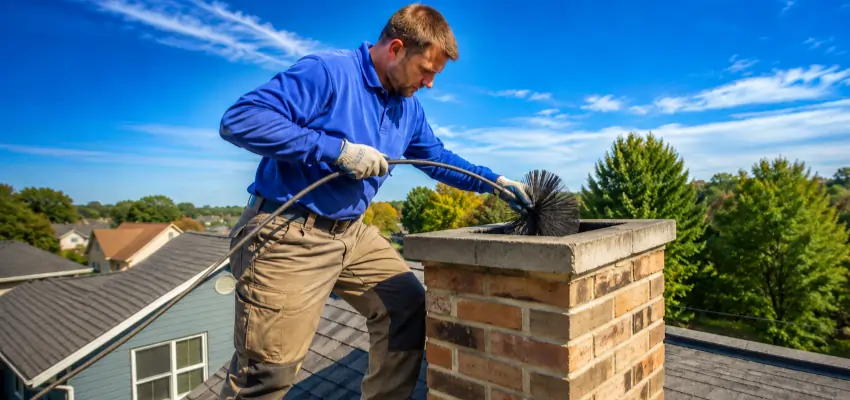
Your New Westminster fireplace, swept and checked: Chimney Sweep
Swept and checked: Chimney Sweep Services in New Westminster
Wood units, stoves and inserts: Fireplace Experts serving New Westminster
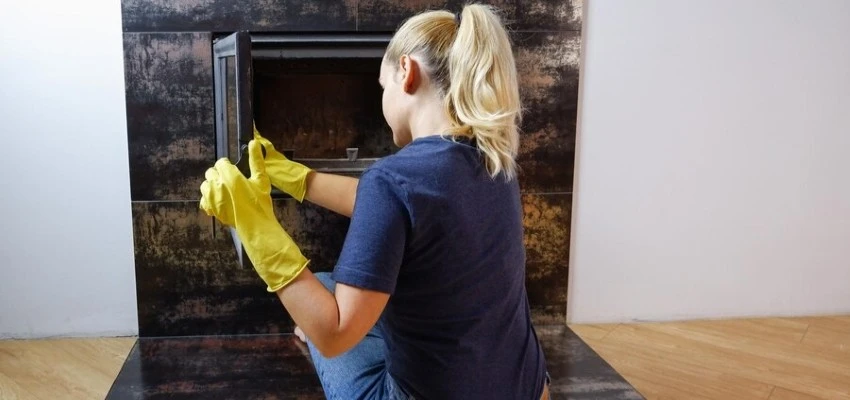
Fireplace smell at startup? Gas Fireplace Cleaning in New Westminster
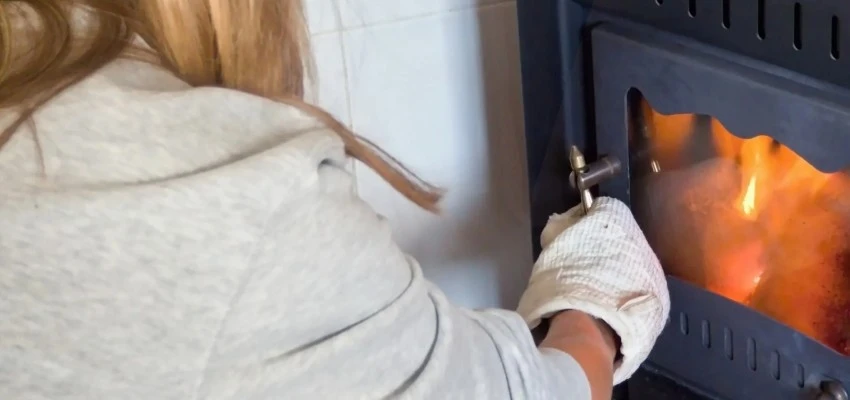
Slow to light? Gas Fireplace Maintenance near New Westminster

