
Booking is simple. Send your name, number and a short message, and someone will get back to you about Chimney Bricks Rotten Repair New Westminster
Our crews hear the same questions on almost every roof and in almost every living room, so we wrote them down. If “chimney bricks rotten repair” is what brought you here, you will find honest explanations of chimney brick repair for homes around New Westminster, the kind a technician would give while pointing at the chimney itself. Some answers deal with safety, some with cost factors and timing, and a few simply explain how the parts of a chimney work together.

Bricks do not rot the way wood does, but the word describes what homeowners see: brick that has turned soft, sandy or flaky, with a face that crumbles at a touch. The cause is usually years of moisture moving in and out of the brick, sometimes combined with freezing, salts or a mortar harder than the brick around it. Underfired or very old bricks are more vulnerable. If your search for “chimney bricks rotten repair” started with a pile of red grit on the roof or the hearth, that powder is the outer layer of the brick wearing away, and the affected units will need replacing.
It depends on the damage, so the safe default is to hold off until someone has looked at it. Cosmetic problems on the outside, such as a stained brick face, rarely affect how a fireplace works. Damage inside the flue, a cracked liner, a damper stuck shut or a blocked vent is different, because smoke and hot gases may not leave the house the way they should. If you notice smoke spilling into the room, a strong smell or soot where there was none before, stop using the fireplace. Keep working carbon monoxide alarms on every level of the home either way.
Your chimney is most likely leaking at the crown, the flashing, the cap or through porous brick, though the stain rarely appears where the water gets in. Rain that slips past a cracked crown may travel down inside the masonry and show up at the firebox. Flashing leaks tend to stain the ceiling or the attic framing next to the chimney. An uncapped flue lets rain fall straight onto the damper, where it causes rust and a damp smell. Porous brick can wick moisture through the whole stack during long storms. We often test one area at a time with a hose, starting low and working up, so the repair targets the real entry point rather than a guess.
It depends on the part being repaired. Caps, crowns, flashing, upper masonry, chase covers, chimney fans and top-sealing dampers are reached from the roof or from ladders set against the chimney. Throat dampers, fireboxes, ash dumps, cleanout doors and many vent connections are handled from inside the house or at ground level. Roof work is planned around the weather, the pitch of the roof and safe ladder placement. Homeowners should not climb up to inspect or repair a chimney themselves; binoculars from the yard or the technician’s photos will tell you what you need to know.
A chimney repair visit normally starts with an inspection to confirm the problem and check for anything related. The technician protects the area around the fireplace and, for exterior work, sets up ladders or roof anchors. Then the damaged part is removed or prepared, whether that means grinding out mortar, cutting away old sealant, unbolting a cap or opening a damper assembly. New materials go in, and the work is checked for fit and weathertightness. At the end you should see the finished work or photos of it and hear about anything else that turned up along the way.

Each damaged brick is removed by cutting out the mortar joints around it and breaking the brick into pieces so its neighbors are not disturbed. The cavity is cleaned, and a replacement brick of matching size, color and hardness is buttered with mortar and slid into place, then the joints are packed and tooled to match. Salvaged bricks are sometimes used on older homes for a closer match. Where many bricks in one area have failed, the mason may rebuild that section instead of swapping units one by one. Fixing the water source belongs in any sound chimney brick repair plan.
Repointing is not a recurring yearly job; a properly matched and packed joint can last a generation. When we see fresh tuckpointing fail within a few years, it is usually for one of three reasons: the new mortar was too hard or too soft for the brick, it was smeared over old mortar instead of packed into cleaned-out joints, or water from a cracked crown kept soaking the stack. We address all three on our jobs. After that, the chimney top and the weather-facing side are the spots to watch, and touching up a handful of joints there keeps the rest sound.
Small chimney repairs, such as replacing a cap, sealing a crown or freeing a damper, often take a few hours. Mid-sized jobs like new flashing, a new chase cover or a fan installation usually fit into a day. Larger masonry work, including repointing an entire stack or rebuilding the section above the roof, can take several days, because mortar and concrete need time to set between stages. Weather adds to the schedule for anything done outside, since rain and cold delay masonry. Ask for an estimate of both working time and total calendar time before the job is booked.
Preparing for chimney repair mostly means clearing access inside and out. Stop using the fireplace or stove at least a day before so the firebox and flue are cool, and move decorations, screens, tools and furniture away from the hearth. Outside, move vehicles, patio furniture, planters and grills away from the side of the house where ladders will go, and unlock any gates. Let the company know about pets, an alarm system or anything fragile near the chimney. If the job involves the attic or basement, such as tracing a leak or emptying an ash pit, clear a path there too.

Many homeowners like to schedule this before the busiest heating or cooling months, when everything is about to work hardest. If that sounds like a sensible plan for your home in New Westminster, reserve a visit with Chimney Sweep New Westminster and we will confirm a time with you.
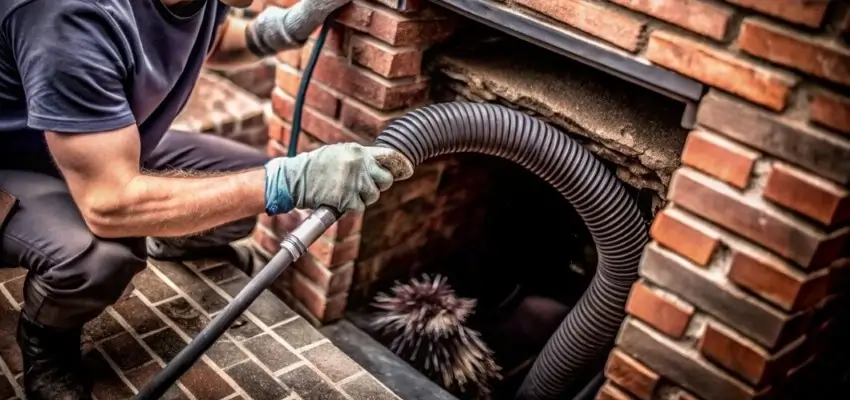
Less smoky smell, steadier flames: Chimney Cleaning around New Westminster
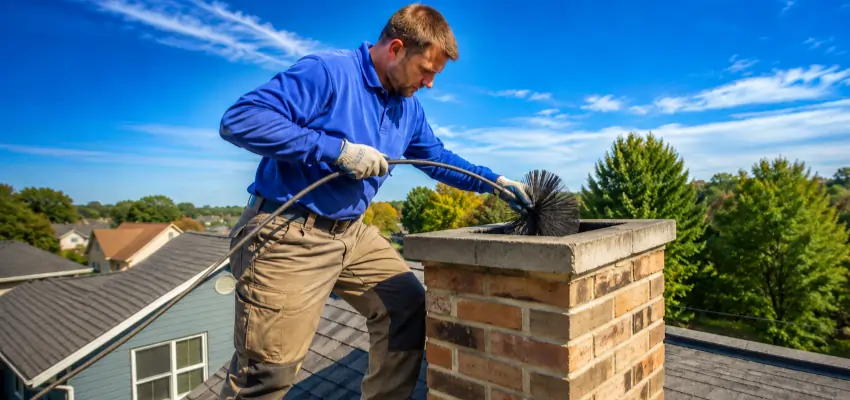
Your New Westminster fireplace, swept and checked: Chimney Sweep
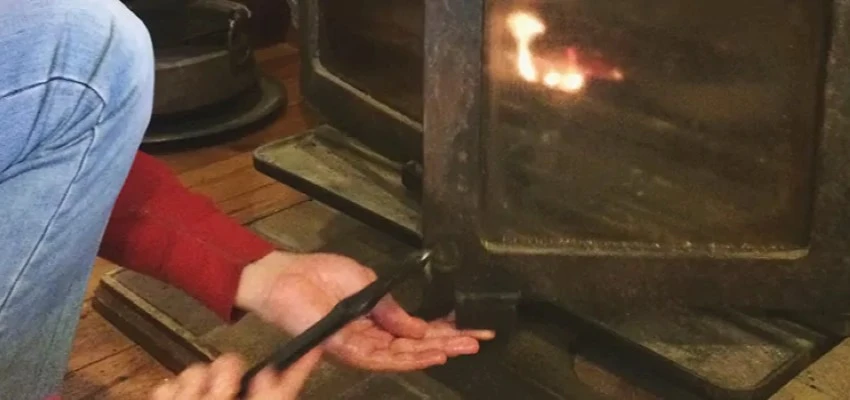
Swept and checked: Chimney Sweep Services in New Westminster
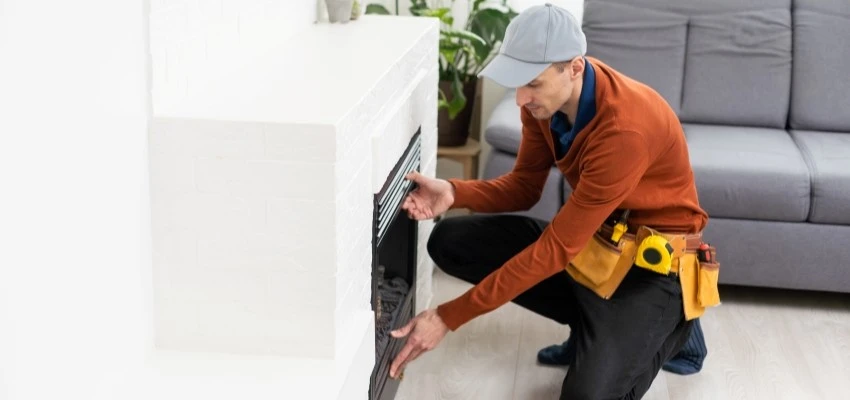
Wood units, stoves and inserts: Fireplace Experts serving New Westminster
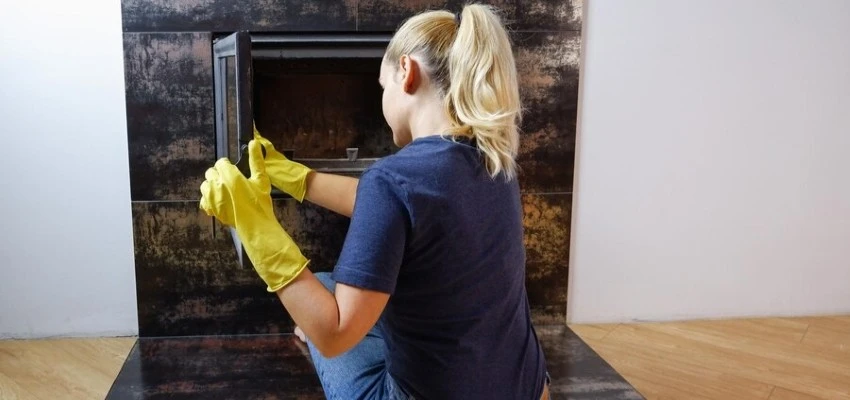
Fireplace smell at startup? Gas Fireplace Cleaning in New Westminster
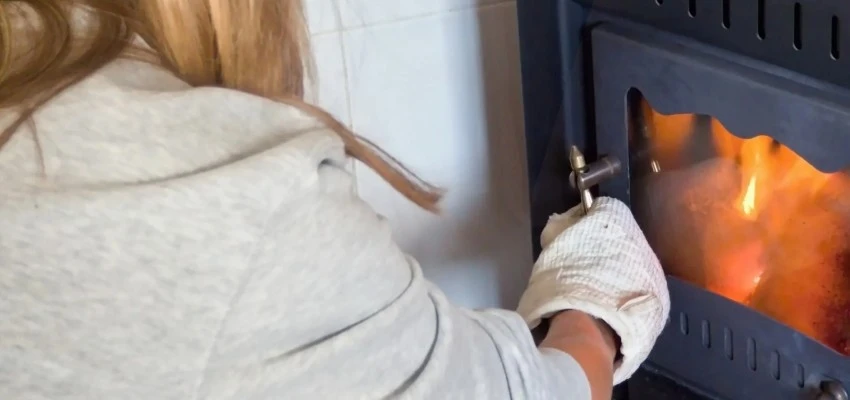
Slow to light? Gas Fireplace Maintenance near New Westminster

